A ruptured pipe can be a time bomb. Initially, there may be no leaking at all since the frozen water can completely block the pipe—until the ice begins to thaw, at which point you are on the verge of a major flood. There are many instances where homeowners try to escape a cold winter for a few weeks of vacation in a warm climate, only to return to a home that has been devastated by tens of thousands of dollars in damage from water that has destroyed walls, ceilings, and floors.

Pipes are most susceptible to freezing when they are located:
- In an outside wall that is subject to freezing outdoor temperatures
- In a cabinet under a sink (especially when located near an outside wall)
- In an unheated crawl space or basement
- Near outdoor faucets (hose bibs) used to connect garden hoses
If your pipe is frozen but not yet ruptured, you must thaw it right away. There are a few thawing techniques to try, depending on where the frozen pipe is located.
WARNING
Never use a blow torch or other open flame to thaw a pipe. This presents a serious fire hazard and can damage the pipe.
Locating the Frozen Water Pipe
A frozen pipe that hasn’t burst yet often reveals itself at a faucet. When you turn on the faucet in very cold weather and no water comes out or has slowed to a trickle, there is a good chance the pipe is blocked with ice somewhere in the line. It’s time to take immediate action.
Shut off the water to the faucet locally or at the home’s main water shutoff valve. Open the faucet that is supplied by the frozen pipe; do this even if you don’t know where the blockage is.
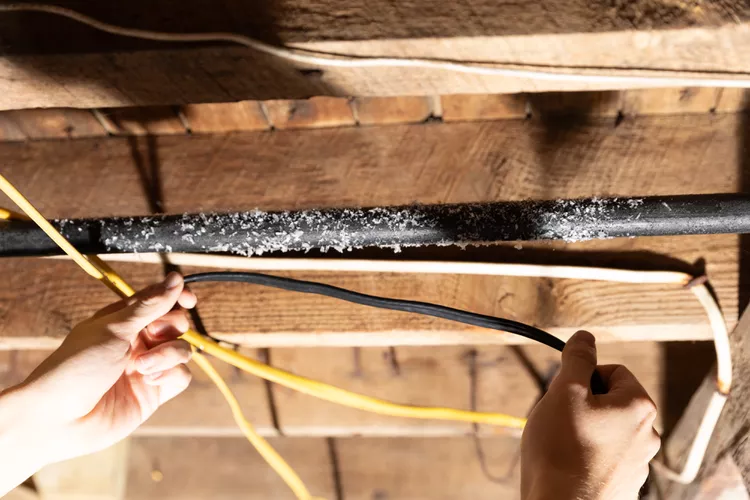
Identify the frozen pipe and locate the blockage. Follow the pipe back from the faucet to where it runs through cold areas, such as an exterior wall or unheated crawl space. Look for areas of the pipe that have frost or ice; it may also be slightly bulged or fissured.
How you thaw the pipe will depend on where it is located.
What You’ll Need
Equipment / Tools
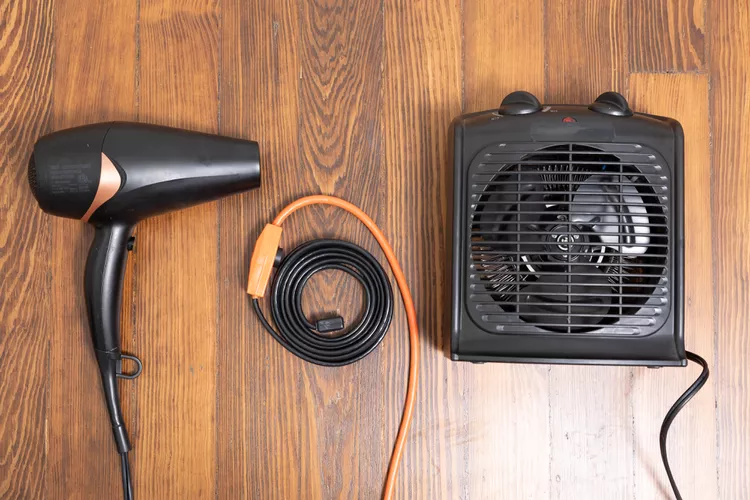
- Hair dryer
- Portable heater
Materials
- Electric Heat Tape

Instructions
How to Thaw a Frozen Pipe Inside a Wall
When you find that a pipe that is frozen but not yet burst is located behind the surface of a wall or ceiling, you’ve got a challenge on your hands.
Turn up the Heat
Turn up the heat in the house and wait. If you suspect the pipe is inside the wall within a bathroom or kitchen sink base cabinet or vanity, make sure to open the door of the cabinet to help the heat reach the wall.


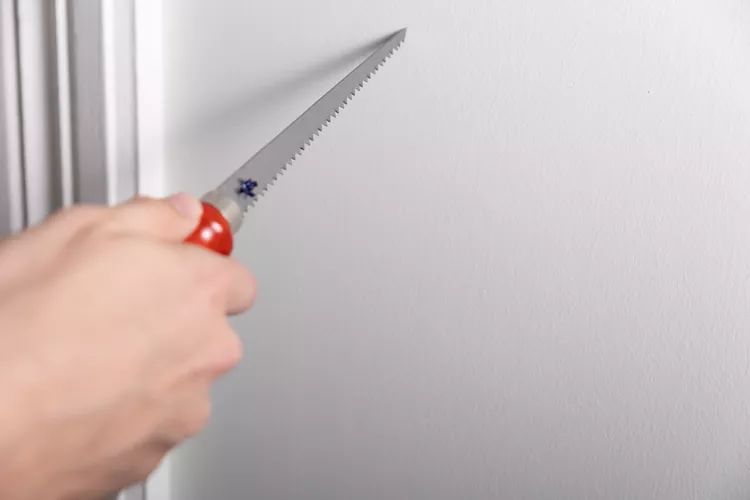
Open Up the Wall
If you are very concerned that a burst pipe is imminent, cut out a section of the wall or ceiling to access the frozen section of pipe, then thaw the pipe as if it were an exposed pipe.

How to Thaw a Frozen Exposed Pipe
If the frozen pipe is exposed, such as may be present in an unfinished basement or garage, you have several options for thawing it. Whichever remedy you use, begin heating the pipe from the faucet side toward the frozen area. This allows water to flow out as the ice melts.
Try a Hair Dryer
This is usually the easiest and safest way to thaw a pipe. If the pipe is close to the wall, place a cookie sheet behind the pipe to help radiate heat onto the backside of the pipe.
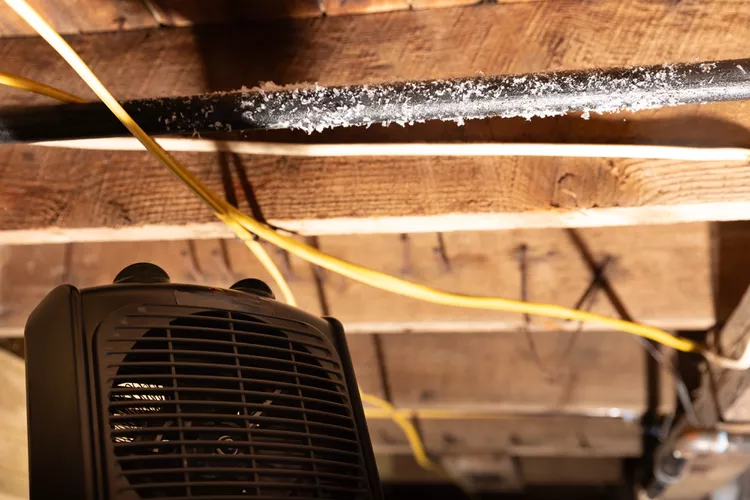
Set Up a Portable Heater
A small, powerful heater works great for warming pipes under a kitchen or vanity base cabinet. Direct the heater onto the frozen section of the pipe. Make sure to keep an eye on the heater as you are heating the pipe.
Use Electric Heat Tape
Heat tape is a ribbon-like wrap that contains electrical heating elements. Wrap it around the pipe you want to heat and plug it into the wall. The temperature of the tape is controlled with a thermostat. Heat tape can also be used to prevent pipes from freezing in critical areas. You can leave the heat tape on the pipe and plug it in only when needed.
Tips for Preventing Frozen Pipes
There are a few things you can do to prevent the problem of freezing pipes from occurring again:
- Leave the faucet dripping during the coldest times. The steadily moving water will keep the pipes slightly above the freezing point and prevent them from freezing. No one wants to waste water, but it is better than dealing with burst pipes. A burst pipe can easily spill several hundred gallons of water per hour.
- Open cabinet doors to allow the heated air from the room to reach pipes inside the cabinet. This is often sufficient to prevent kitchen pipes from freezing on the coldest nights.
- Wrap the problem pipe with electrical heat tape and plug it in when the weather is especially cold.
- Insulate problem pipes with foam insulation wrap, especially those that run through unheated spaces. But remember that insulation merely slows the transfer of heat and will not prevent a pipe from freezing if the surrounding air is cold enough.
- Install a permanent heater to keep areas with pipes above the freezing point. For example, an unheated basement or garage can be fitted with a permanent baseboard heater to keep temperatures above freezing. However, do not use portable heaters, which should never be left running unattended.
- Remove garden hoses attached to outdoor faucets (hose bibs or sillcocks). If the faucet is not a frost-proof type, winterize the pipes by turning off the water to the faucet inside the house and draining the exterior section of the pipe and faucet.

The diverse styles of sunrooms showcased in the article are impressive. It’s great to see options for different tastes and preferences.
Good!
This article offers essential tips for dealing with frozen water pipes, especially during the colder months. The step-by-step guide on how to thaw them safely is incredibly helpful and could potentially save homeowners from costly repairs. Plus, the preventive measures suggested are practical and easy to implement, helping to avoid future issues.
Dealing with frozen water pipes can be a nightmare, but this article breaks down the process of thawing them in a clear and concise manner. The inclusion of preventive measures is a nice touch, as it emphasizes the importance of taking proactive steps to protect pipes from freezing in the first place. Overall, it’s a valuable resource for homeowners looking to safeguard their plumbing during the winter.
As someone who has experienced the frustration of frozen water pipes firsthand, I appreciate the practical advice offered in this article. The tips for thawing frozen pipes are straightforward and easy to follow, which is essential during a stressful situation. Additionally, the preventive strategies outlined provide valuable insight into how to avoid similar issues in the future, promoting peace of mind for homeowners
To prevent frozen water pipes, it’s crucial to insulate them properly and keep indoor temperatures above freezing.