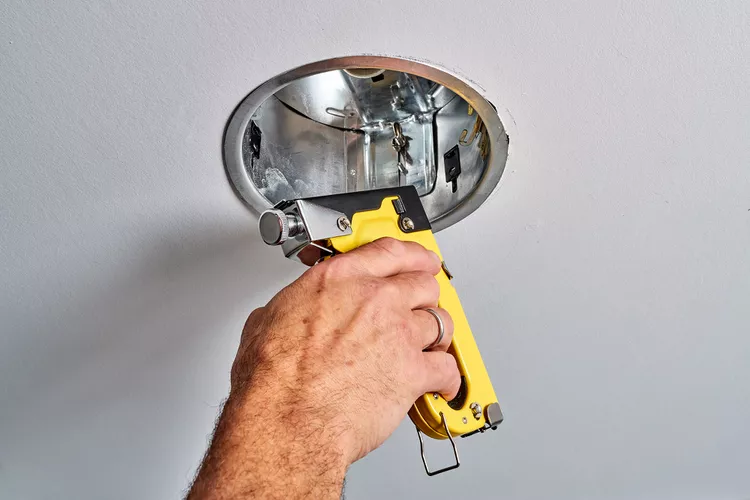
When they work right, recessed lights tuck neatly out of the way and remain flush with the ceiling. They are especially good in low-ceiling areas such as basements. But the mechanics of getting recessed lights to stay up, flush, and out of the way, can be tricky.
If you own recessed lights, no doubt you have at least a couple that are in crooked positions, likely due to spring clips that refuse to stay in place. If you are truly unlucky, that one light has multiple spring clips that have failed, leaving the entire light hanging by wires. Thankfully, you can fix a recessed lighting fixture that is sliding from the ceiling by removing the light, then adjusting or stapling the clip back into place.
Recessed Lighting Trim
Different types of trim can be used for various recessed lighting fixtures and brands. Your lights may have torsion spring clips or friction spring clips, depending on the type of trim they’re installed with. Before purchasing new spring clips to repair your lights, it’s important to figure out which type of trim you have. You can determine the type of clips needed based on your lighting’s trim type and specific brand.
Adjustable Trim
Some recessed light fixtures can rotate in different directions, be adjusted to different angles, or even retract further into the ceiling. The following types of trim are adjustable:
- Eyeball trim: This trim allows the light to protrude from the trim itself and angle or rotate in different directions.
- Gimbal trim: Similar to eyeball trim, gimbal trim allows the light to rotate, but houses the light inside the trim rather than protruding below it.
- Retractable trim: The lights inside retractable trim can be moved up and down on a fixed angle to fit ceilings that aren’t level.
- Slotted trim: Perfect for highlighting an accent in a room, slotted trim has a similar appearance to pinhole trim. However, slotted trim is adjustable and features a smaller opening for bright, directed light.
Non-Adjustable Trim
- Open trim: This trim is installed for light bulbs that are not encased.
- Reflector trim: With a mirror-like coating on the inside of the trim, reflectors offer widespread lighting for larger areas.
- Pinhole trim: Best for accent lighting, this trim directs light toward a certain object or area in the room with a fixed angle.
- Shower trim: Also called lensed trim, this light is encased completely inside the light with a flat surface on the bottom for a waterproof fixture.
- Wall wash trim: Similar in appearance to eyeball trim, wall wash trim does not rotate and features a shield that points light in one direction while making it less harsh.
Before You Begin
It helps to first understand how a downlight spring clip works. If you could see inside of a closed ceiling plenum, you would see engaged clips that look much like the legs of a spider. Ceiling light clips are installed by being pressed into place, then moved upward and downward to form a leg. Four of these spring y legs combine to hold the light in place against the ceiling drywall.
When properly engaged, the clip will lock in place and you can feel it as it clicks. When the clip does not engage, the clip will be loose. It might even look like it is flat against the inside of the light, but when you touch it, the clip rattles, which means it is not doing its job.
2 Simple Repairs That May Fix the Spring Clips
Before taking the more decisive repair detailed below, you can try fixing recessed lighting that is hanging low with the following spring clip repairs:
Bend the Spring Clip
With the light disengaged and accessible, bend the spring clips outward. This may help the clips better engage when the light is pushed back into place.
Strike the Spring Clip
Another method recommended by some do-it-yourselfers and even a few electricians is to sharply rap the spring clip once—and just once—into place with a small, heavy object such as a pair of side-cutting lineman’s pliers. If one rap does not do it, subsequent raps rarely will help.

Your article not only provides practical solutions but also instills the confidence to DIY. Thanks for empowering readers to take control of their lighting issues!
I never realized how important those clips are until I read this. Now I know what to check the next time my recessed lights start acting up
The video tutorial is a nice touch. Sometimes seeing the process in action is more helpful than just reading instructions.
The before-and-after pictures really showcase the impact of fixing recessed light clips. It’s amazing how such a small repair can make a big difference.
I love the simplicity of the solutions provided. It’s great that I can tackle this issue myself without a lot of tools or expertise.
Your article is a shining example of professionalism and expertise. It’s evident that you’re a master of your craft.